Slip Form Project
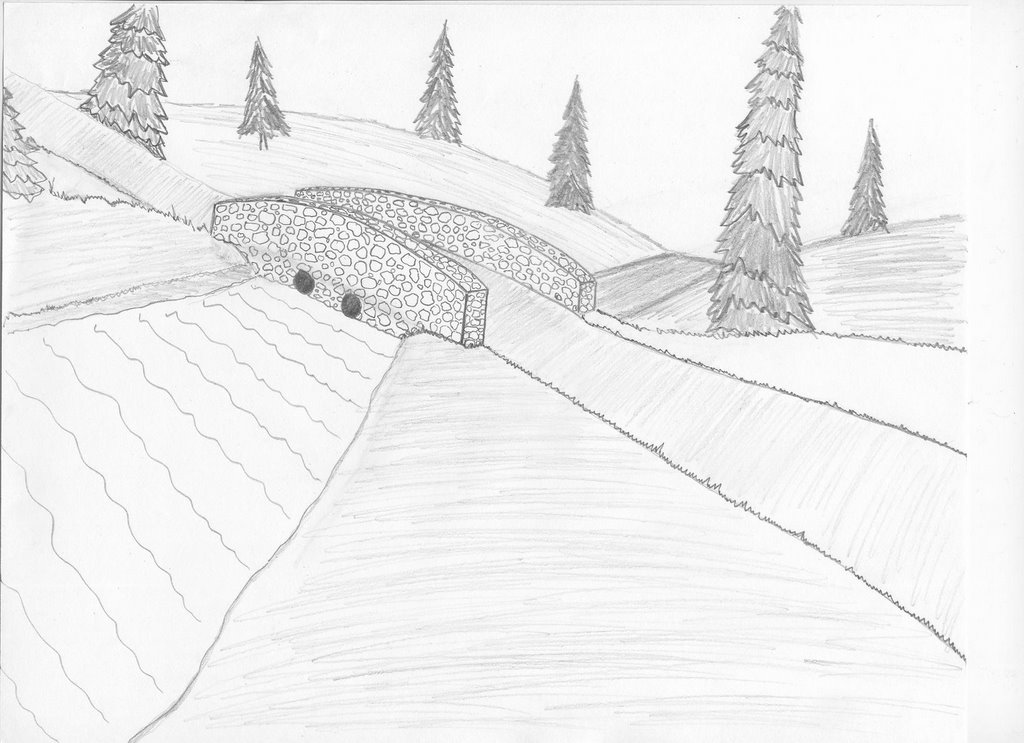
Above is a rough sketch of what our project is supposed to look like when we are done.
Over the years I often heard of an alternative way to build stone walls, called the “slip form” method. The authors who wrote about it usually gave a brief description of the process but, for me there was always something lacking and I only came away with a vague notion of how to build that way. It wasn’t until I watched a video called The Art Of Slip From Stone Masonry that I was finally able to fully grasp the concept.
I think first of all, I would say after actually having practiced the method, the term “slip form” can be a little deceptive. The forms must be “put together” making sure they’re all secured and plumbed and leveled then you make the pour. Once it is sufficiently cured you remove the forms do the clean up on the exposed stones and then “rebuild” the forms higher up on the wall. I don’t believe I would have ever said it was something that you “slip”. Perhaps there are methods which are more like slipping but, how we are doing it, it’s building or putting together, taking apart and then rebuilding up higher as you go.
Kelli and I hope to some day build our “dream” home and I have been entertaining the thoughts of building a slip form basement. So I was anxious to try it out on a lesser project to see if that’s what I wanted to do.
On our property we have a swampy slough that is fed by springs and the water trickles out through a narrow place onto the second 40 and out into a large cedar, spruce and tamarack swamp. We are told by folks that there used to be a dam across the narrow and there was a beautiful trout pond. Apparently the previous owner dynamited out the dam in order to drain the pond so that he could do some excavating enlarging the pond.
One day while my Dad and I were discussing how we were going to restore the old dam we decided that it would be a good project to try out slip forms. We would build stone and mortar retaining walls on either side of the dam making a bridge which we could actually drive across.
We began by shoveling out trenches about 30’ long for the first footing pours. The first couple pours were of solid concrete reinforced with rebar. We mixed the concrete by hand in a wheel barrel. Actually my Dad mixed and I poured using 5 gallon buckets. It was a lot of hard work mixing by hand and lugging 5 gallon pails. 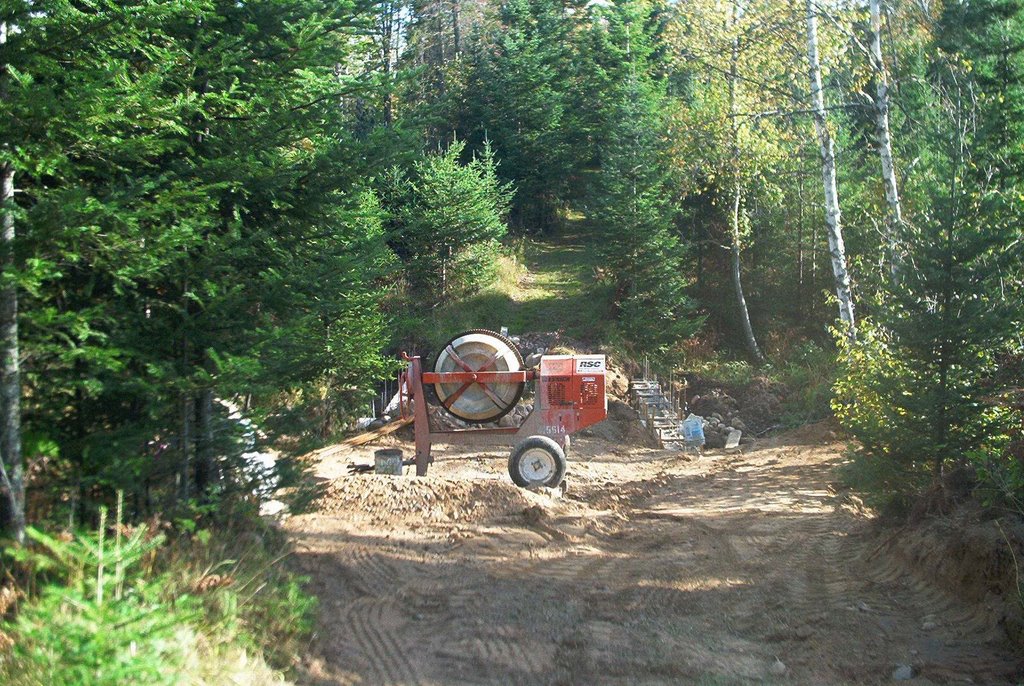
So we picked up a used cement mixer and then used the wheel barrel to cart the cement. That eased up the work load considerably. My Dad had acquired a large 12 inch iron valve just for the purpose of restoring the dam. That way if we ever wanted to drain the pond all we would have to do is open the valve.
After the first footing pours were done, we set in a 20’, 12’’ diameter plastic pipe. Up to that point we just used scrap pieces of wood to make the forms. We drove stakes into the ground which we nailed the form boards to just like you would for pouring a sidewalk or slab. We used double headed nails for ease of dismantling 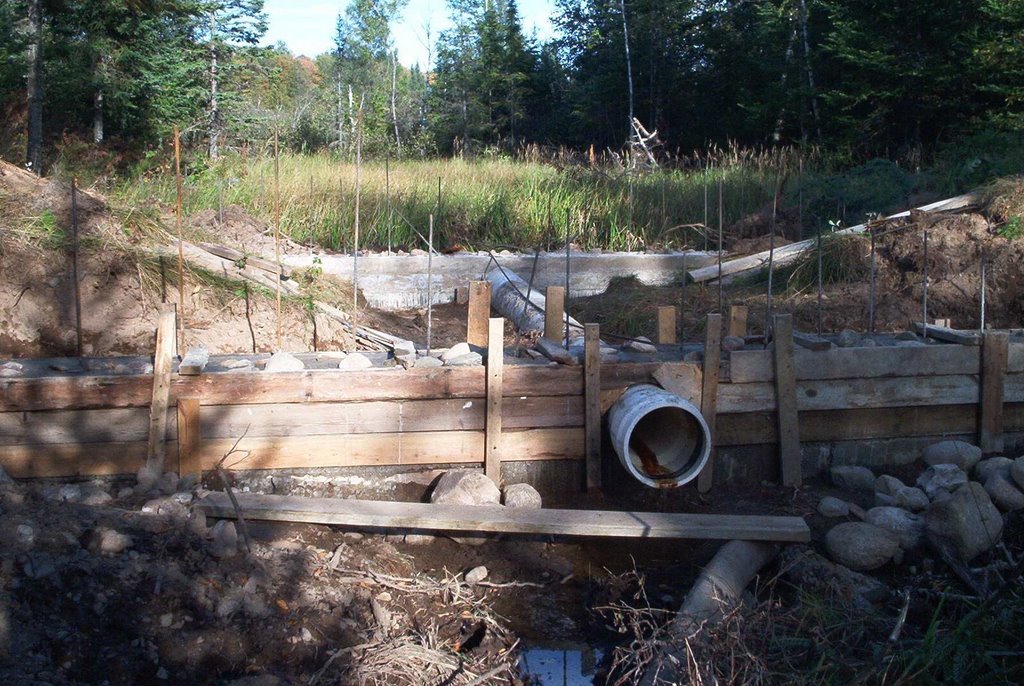 later.
After the pipe was in we built better forms, ones we have used over and over. We have 6 segments 8’ long by just under 16’’ high. What we did was take a 4x8 sheet of plywood and cut it into 3rds. So I say just under 16 inches from what was removed by the saw blade in two cuts. The plywood segments have 2x4 reinforcing on the out side so that the wood does not warp.We coated the forms with oil to keep them from sticking to the concrete.

The new forms were placed end to end making the finished walls 24 feet long. The above photo shows the forms, how they are butted together and propped up with stakes. The previous lift is sandwiched at the base of the form and sticks are inserted to keep the top at the proper width. The sticks are 15 inches making the actual wall 15 inches thick. The two sides are pulled tightly together with twisted wire. We also nailed stakes across the top of the forms just to help keep everything square. Once everything is all together it’s pretty easy to tap and bump things getting it all plumbed and leveled. We are able to completely fill the entire 24 foot long form in about a day. We use vertical and horizontal reinforcing bars for strength. They’re a little tricky to work around but well worth the added reinforcement.
The beauty of building this way is that you don’t have to be a great stone mason to make nice looking walls. Charles McRaven has a couple excellent books about building with stone and he makes the point that you should begin by learning to make dry stack walls first before you build with mortar. The idea is to build in such a way that the wall would stand even without mortar. Then when you advance to using mortar you will then have extremely strong construction that will last for a very long time. The thing is you need reasonably flat stones to be able to build that way. In our area we have roundish ones. Some are as round as softballs. It takes great skill to build good strong walls with our kind of rocks.
In reality our slip form walls are actually concrete walls with a rock face on all the exposed areas. The strength is in the concrete and rebar. The object is to find rocks with a flat surface even one reasonably flat spot will work. We begin by adding some concrete and then sliding in a rock against the outside of the form. I try to find rocks that look like they would fit the voids between other rocks. Sometimes it takes a bit of doing to find the right shaped rocks. Usually my Dad can mix the cement faster than I can place rocks. Especially once we got to the top pours were we have rocks showing on all four sides. We also use stones to fill in, in the middle to help reduce the amount of concrete used. The biggest cost is in the Portland cement. We have our own sand pit so the sand is free. So are the rocks, by the way, since they’re all over the place here. The good thing about these round rocks is that the rounded edges actually lock in place real nice once the concrete is set.
Once the pour is done we leave it alone till the next day. When we remove the forms some of the concrete has seeped around the stones so all of that has to be chipped and brushed away. We use masonry chipping hammers and wire brushes for that. Its quite enjoyable doing the clean up seeing the finished product emerge from under the cement.
In the below picture you can see a fresh pour right after it’s been cleaned up. This particular picture is of the water side before the valve was installed. We made a little mud dam and ran a smaller pipe through it to help dry up our work area on that side.

After we stopped working on the dam for the season out of curiosity we closed the valve to see how much water would build up. In the pictures below you can see the top of the valve peeking out next to the wall. At that point the water was about 3 ½ feet from the bottom of the pipe. The deepest water was about 5 feet deep. Later after the spring run off, the water got within about 6 inches of the top of the wall. At that point I estimate that the water was at around 8 feet at it’s deepest point.


We picked it up again in 06 and almost got the wall on the water side finished. We only have one pour left on that side. As we progressed our plan evolved a bit. In the sketch at the top of this post you can see our original thought on where we were going to place a pair of spill way pipes. We have since changed our minds and are going to put a spill way in the bank and not have it built into the wall. And we plan to pour a solid concrete cap for the last pour. It will be about 6 inches high with an inch or so hang over all the way around as a drip edge.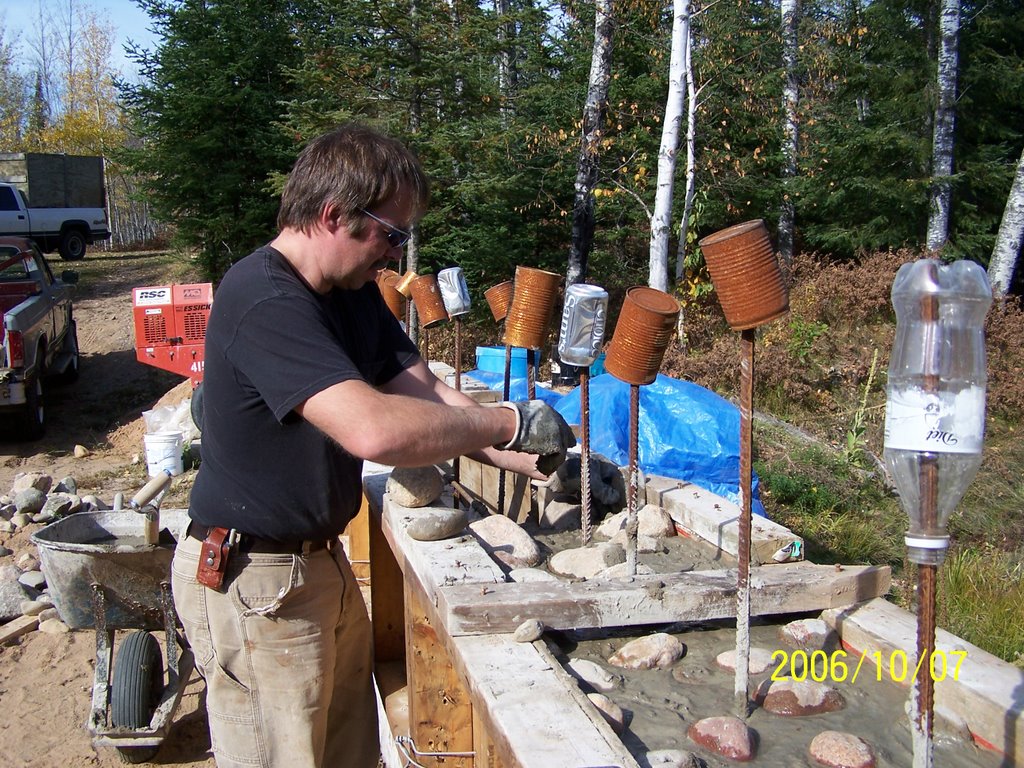

In the above pictures we are making our last pour of the season. This is were we made the arch like in the sketch. The cap will be the last pour on that side.
In the pictures below you can see the final curved shape of the top and of course without the cap. This is where we stand with our project right now. The rebar that is currently sticking up will be bent over and poured right in to the cap.
It’s been quite an under taking and a real learning experience. Once we get the walls completed then the big project will start, of cutting out all the brush and tree’s that have grown up over the years and of trenching out the pond.


Until Next Time
posted by RL at 7:14 PM
![]()

7 Comments:
I have read about this process in books by the Nearlings. Nice job!!
Squire,
Thanks!
Patti,
It is both a dam and a bridge. More precisely it is a dam that you can drive across. We plan to install an overflow pipe that will be able to handle a flood.
When we're all done we'll coat the stones with a clear finish that will bring out the colors even more.
Thanks for the comment!
SLIP - as in "long, narrow strip"
awesome!!!! what a great job, now that you've got that project behind you start working on that basement. theres also a little known book out there "the art of building a house of stone" that gives great techniques including the idea of spreading some sand in there along the face to give more of a reveal to the stones...it has some nice photos...but your wall is terrific
This is an interesting project, I'd love to see how it turns out.
Thanks for sharing these ideas about using marble in interior design.
Traditional stone masonry Austria
Natural stone craftsmanship Vienna
Historic building restoration Austria
Custom stone carving Austria
Architectural stone detailing Austria
Stonemasonry workshops Austria
Granite and marble masonry Austria
Stone façade restoration Austria
Handcrafted stone monuments Austria
Cultural heritage masonry Austria
Thanks for sharing. Our team provides affordable general contracting services across the UK
stone masonry
art of stone masonry
ancient stone masonry
stone masonry building
stone masonry bricks
stone masonry blocks
black stone masonry
stone masonry chisels
Post a Comment
<< Home